Showing posts with label paper crafts. Show all posts

father's day idea: desktop planter

Need a last-minute Father's Day idea?  How about a desktop planter?


We got together with friends today to make these easy succulent planters for Father's Day.   Start with a simple container and fill it with a layer of rocks (for drainage), soil, a few small plants and wood chips or more decorative rocks to top. 

I printed small pictures of the kids (about 2 inches tall), laminated them so they wouldn't get wet, stuck them on a toothpick and hid those little sweeties among the plants.  I think it will make a cute addition to daddy's office.


Oscar loves gardening, thanks to his awesome Aunt Holly, so he was all over this project.  Although, I think he would have filled the vase to the top with rocks, had we let him.

We've been participating in Summer Camp Adventure Club for June, and this week's theme is Growing & the Outdoors.   Just for fun, my friend Sonja bought a tub of ladybugs at the nursery today and we released them into her garden ... all 1,500 of them!   The kids were (mostly) delighted, and we mamas thought it was a lot of fun.  


The Summer Camp Adventure Club is wonderful and has been keeping us so busy.  I'll show you more of what we've been up to towards the end of the month.  In the meantime, you should check it out!  July is quickly approaching, and there will be new themes and new fun to be had.

Ancestry Circle Chart

How many family trees can I hang in my house before people start calling me "crazy family history lady" behind my back?  I know I just posted my family tree wall hanging last month, but it didn't have many generations on it and I wanted to dig deeper.

ObituaryHelp.org has a whole variety of free family tree templates.  I modified their 9 generation circle chart to create a simpler 6 generation chart and imported the image into my Silhouette Cameo software.


After importing, I traced the chart to prepare cutting lines and switched out my blade with one of the Silhouette Glitter Sketch Pens.  Instead of cutting your paper, the sketch pens draw your design.  I liked the glitter pens because they aren't overwhelmingly glittery - there is just a nice shimmer to the ink.


If you want to draw with multiple colors, you simply switch the pens without unloading your paper.  I drew the blue circle chart first, then without unloading my cutting mat, switched to a green pen and drew our last name and marriage year in the center of the chart.


Finally, my chart was ready to fill in.  I used a fine tip pen (.5mm) to write in all the family names.  Did you notice all the blank spots in bottom corner of the first picture?  I was really surprised to learn that much of the family line on my dad's side is unknown.  What started out as just another Silhouette project has turned into something very personal for me, and since I've begun I have had a strong impression that these people want me to find them.  I've been looking through census and immigration records for the last several days and think I've already found a family member!  I still have a lot to learn about the process, but I really hope to be able to fill in all of those blank spots (and beyond).


If you are a Silhouette user and want to make this project, send me an email (homemadebyjill@gmail.com) and I'd be happy to send you my file (for personal use only, please).  It is designed to fit a 12 x 12 piece of paper, but you could size it down to fit the older model.  Also, I'm considering listing some of these charts in an esty shop if there is interest.  What do you think?

Use my blog code, JILL, April 24th - 30th to get Silhouette's Sketch Pen Bundle Promotion.
The bundle includes:
1 Silhouette CAMEO
1 $25 download card
1 Silhouette Metallic Sketch Pen pack
1 Silhouette Glitter Pen pack
all for $269.99 (a savings of almost $75)
If you already have the Silhouette, you can get the metallic and glitter pen packs for only $6.99 each.

Homemade Ice Cream Pint Label

One more free printable for you today.  Last year I made a Homemade Ice Cream Kit gift for my sister-in-law's birthday.  Download the label below to decorate your own homemade pints.


Enjoy!

letterpressed notecards

My favorite notecards are simple and sweet, pretty on the outside, blank on the inside.   They are great to have on hand for everyday use, and also make a nice gift.


I used my L Letterpress to print these cards using the Blossom and Posy printing plates and bright green and teal ink.


Lifestyle Crafts has their pretty paper packs on sale for 50% off this week.  Use the code HOMEMADE to get an extra 20% off.  I am loving the stripes and chevrons.


They also have a free shipping deal through the end of the month. Sounds like a good time to shop.  :)

we are family


A family tree has been on my project to-do list for a long time (like, years).  But after seeing a few beautiful family trees on Pinterest (especially this one), I was inspired to finally get started.

I began with a funky old tray that I snapped up last year when one of the closets at church was being cleaned out.  Sure, the paint was ugly, but it had a nice shape.


I painted the middle white and the border Valspar's Dreamy Clouds. Then I put my Silhouette Cameo to work.   I didn't take a picture of all the cutting, but this is just one of those instances I was so glad to have a Silhouette.  About a million tiny leaves later, I was ready to start gluing.


I used mod podge to glue down all the pieces.  The shape of the tray really helped me define the fullness of the tree.  My original plan was just to put this on a canvas, but I think the curvy tray adds a lot more character.


My husband's family went on the left of the tree, my family on the right, and our children are the little acorns below.  For the sake of space, this family tree only has 4 generations, but someday I'd love to make a huge one (like this) and really dig in.


Oscar was excited when he found out he was one of the acorns.  I'm excited to have a long over-due project crossed off my list.


This is what happens when you ask your kids to help you take pictures:


For Silhouette Users
here are the shapes I used for this project:
house of 3 banner
leafless - bare tree, by Alaa'K
4 leaves, by Lori Whitlock
acorn, by Silhouette
6 labels, by Lori Whitlock

no-mess glittered ornaments

One of my personal Christmas traditions is that I like to make a few new ornaments for my tree each year.   They almost always involve glitter.  I was talking to my sister earlier today and she remarked that if she could find a way to work extra glitter into every season, it would make her life a little happier.  I agree completely - glitter makes me happy.


This year I still got the glitter I love without the accompanying mess.  These kid-friendly (i.e. non-breakable) ornaments are made with wood discs and glittered cardstock.  They are totally low-fuss, low-mess, high-sparkle.  You should be able to find all of the supplies at your basic craft store.


First I used a small amount of hot glue to adhere a ribbon loop to each wooden disc.  Then I glued my cut paper to on each side of the disc using Mod Podge.  I used my Silhouette Cameo to cut the glittered circles and little shapes, but you could just as easily use a paper punch, or even cut them out by hand.

It wasn't long before I had a large set of glittery, festive new ornaments.


They really shine against the lights of the tree.


I also made a set of ornaments with my family's initials.  They found a home on our newly decorated mantel (which also features glittered trees, a holiday book wreath, and felt candy cane garland from crafts of Christmas past).


I hope you have had a very merry December so far!  We've been battling sickness at my house.  A week after Cora was born, my husband came down with shingles and then Oscar and Ruby both caught chicken pox (and yes, they were both vaccinated).  Talk about the worst transition period, ever.  I wouldn't have gotten through it without my mom being here, continually saving the day!   It looks like things are on the upswing now, though.  Keep your fingers crossed for me that this little sweetie remains chicken pox-free, would you?

a very halloween birthday

I'm sure by now you are all sick of hearing about Halloween, but I had to share a few more photos of Oscar & Audrey's double birthday party.  My friend, Sonja, and I put so much work into it, but it was such a great time!  Both of the birthday kids were in Halloween heaven.

I wish I had taken more photos of the decorations!  Sonja's house looked awesome - she made several cute felt buntings, including the bats pictured above.  There were also decorated lanterns, lots of bat silhouettes, and a gigantic yarn spiderweb that covered an entire wall in her hallway.

I made a simple cake (vanilla with blackberry filling and chocolate frosting), and decorated the top with cardstock cutouts (made with my Silhouette) to look like a haunted house, or "house of spooks" as Oscar called it.  Sonja made yummy nutella mini cupcakes, decorated with the cupcake toppers.  Sonja's husband, Jake, cooked up a delicious dinner of pulled pork burritos with all the fixings, and we also had clementines dressed up as jack-o-lanterns, spooky mummy sugar cookies on a stick, cookie bones, and brownies with cute jack-o-lantern wrappers (there was no shortage of treats).

Since the kids were mostly 3-years an under, we kept the activities simple.  After handing out the treat bags Sonja and I made, we sent them on a mini trick-or-treat to the doors inside her house.  The kids received stickers, spider rings, a piece of candy, and a pumpkin-wrapped brownie.  Afterward, we sent them outside to break open a pinata to fill their bags with a few more treats.

We ended the evening with cake, of course.  After Audrey beat Oscar to the punch of blowing out the candles, we re-lit them at least five more times.  I hope they got all their wishes in.


You can find many of the ideas and tutorials from projects mentioned above linked on my Halloween Party Pinterest Board.

mini cupcake toppers

The only thing cuter than mini cupcakes are mini cupcakes with mini cupcake toppers (how many times do you think I can fit the word "mini" into one sentence?). 

I used my Silhouette to cut these little cuties out from black cardstock and scrapbook paper, so other than gluing the pieces together, there was very little work involved.  All of the shapes came from the Silhouette online store.

Each topper is simply taped to a toothpick and will be popped into a mini cupcake for the kids' Halloween birthday party this weekend.

My friend Sonja and I are a bad combo for party planning, because we tend to feed off of each other's craziness.  Even this afternoon, we were discussing ideas for more things to do and make (with the party only days away) ... we have to take turns reminding each other to calm down and focus on the current to-do list.  Do you have a friend like that?  It makes me laugh.

p.s.  Just a reminder that the promo for the new Silhouette Cameo ends Monday, Oct. 31st.  Use the code JILL to get a Cameo and your choice of a free starter kit.

introducing the Silhouette CAMEO

You all know how much I love my Silhouette cutter.  I've used it to make
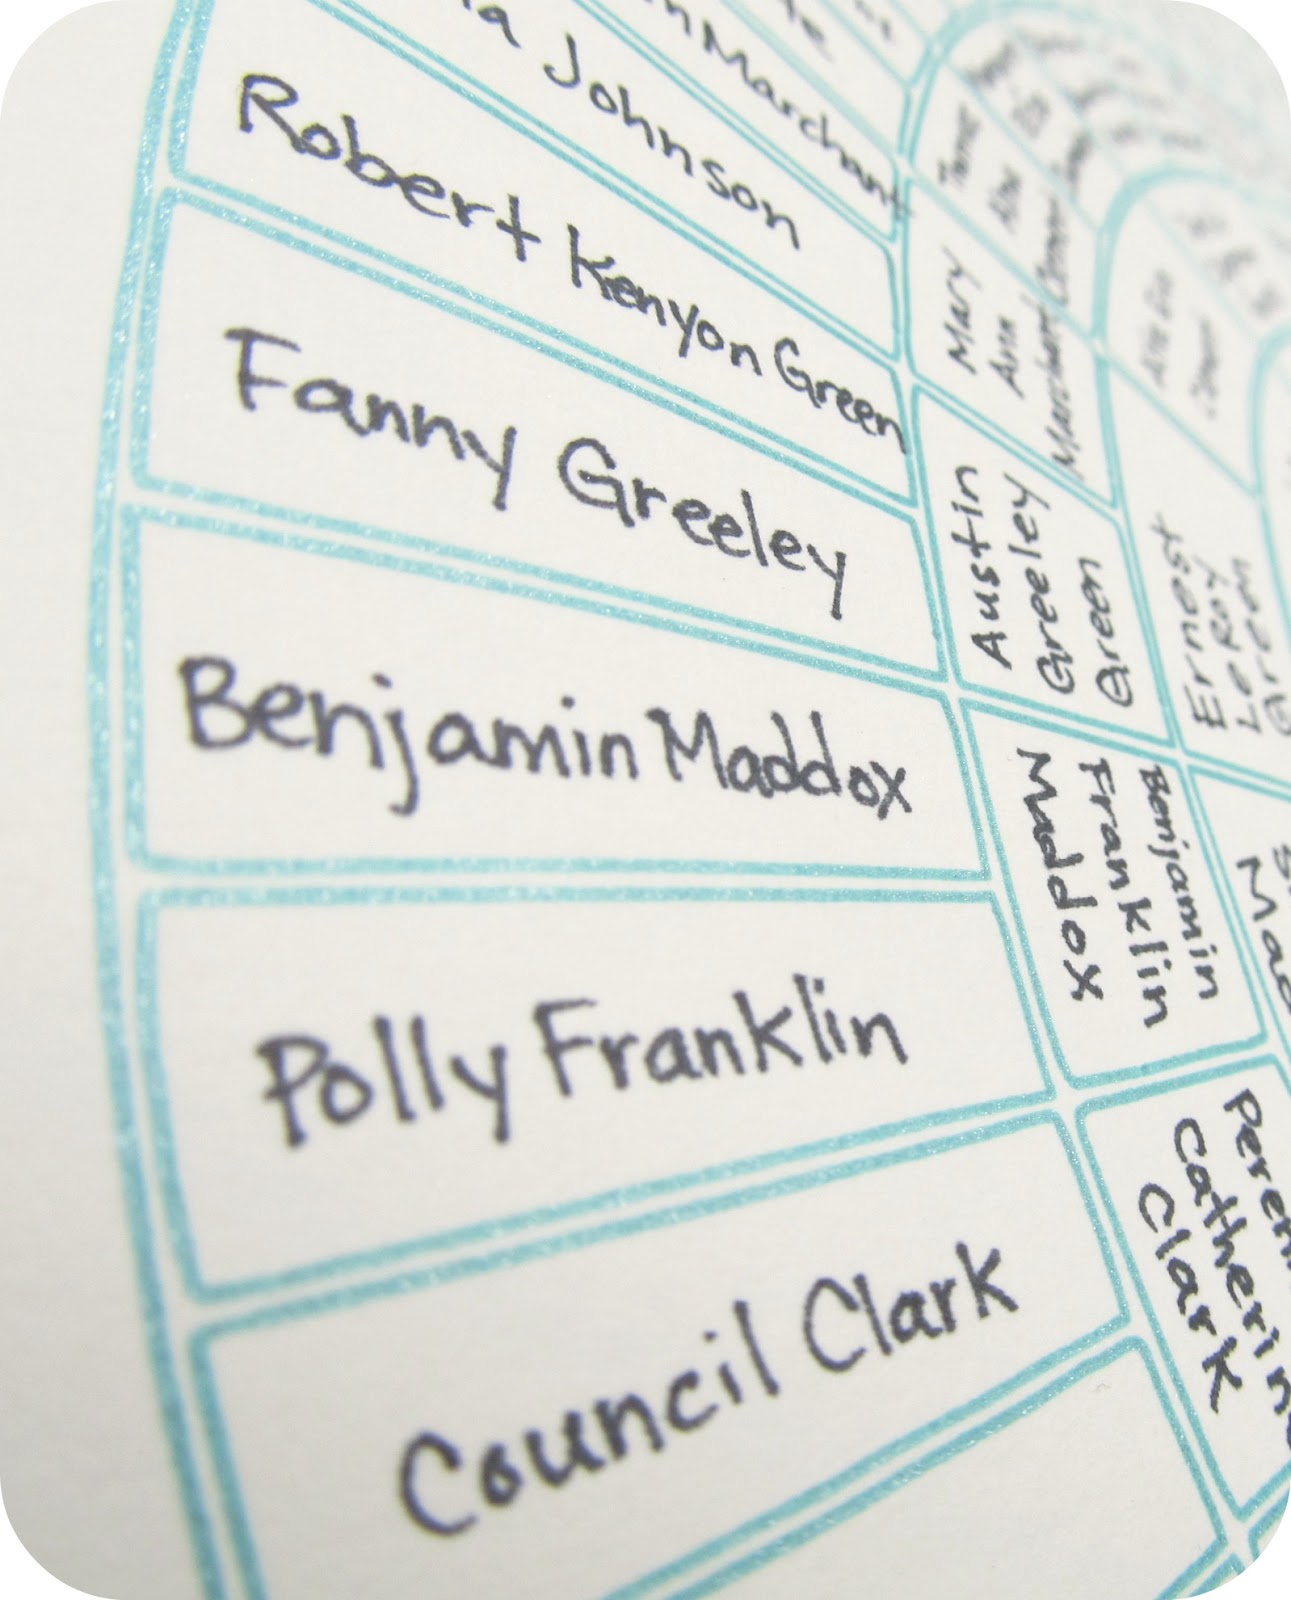
 wall art, custom shirts for my kids and husband, hair accessories, etched glassware, and to organize my pantry.   Most of all, I love to use it for parties and gifts - decorations, labels, treat boxes, etc.

So have you heard the news?  They have just released a new version, the Silhouette CAMEO.  She's a sleek little thing...


The biggest change is the increased cutting size.  The Cameo cuts paper, cardstock, vinyl, or fabric up to 12 inches wide (verses the SD's 9 inches) and 10 feet long.  The extra 3 inch width allows you to cut significantly larger designs - you can see the difference in the cutting mats below.  I love that I no longer have to trim down 12 inch scrapbook paper before running it through the machine.


Other improvements include a quieter motor and an adjustable cutting blade.   I'm a big fan of the new blade, because I was always losing my blade caps on the SD.  Now I can change the cutting depth with a simple click.  Yay!   I also find that it is much smoother to load materials, particularly the vinyl.  All in all, it is just a new and improved version of an already awesome machine.


The nice Silhouette folks also sent me one of the new starter kits to try out.  There are starter kits for vinyl, heat transfer, fabric ink, and rhinestones, and include all the tools you need to learn and make a new project.


So far, I've kept my Cameo busy with party prep - Oscar is having a Halloween themed birthday party this weekend, and my machine is working overtime.

First, I used the Vinyl Starter Kit to decorate a beverage dispenser for the party.  It's going to look awesome filled with colorful, Halloween punch.


I also cut a little vinyl wall decal for a blank space near one of the food tables.  The party will actually be held at my friend's house, because our kids are having a joint party.  Vinyl is great for making easy, temporary decor - I didn't feel bad plastering her walls with Halloween stuff, because I know it will peel right off when the party's over.


Paper buntings cut from scrapbook paper spook-ify my otherwise plain cake stands.  I can't wait to load them up with treats! 


If you've been saving your pennies for a craft cutter, I can't say enough good things about the Silhouette Cameo.  And since I love sharing a good deal, you can get one of the new Cameos plus your choice of a free starter kit (Fabric Ink, Vinyl, Heat Transfer, or Rhinestone) for $299, using the online promo code, JILL.

This promo runs starting today, October 25, through October 31.  There are a limited number of promotion bundles for the first shipment of Cameos, and they are expected to sell out. Maybe it can be an early Christmas present for yourself? I'm sure you deserve it. :)

Martha Stewart's Handmade Holiday Crafts - review and giveaway!

It's no secret that I love Martha - everything that comes from her company is pure perfection.  Today she is releasing a new book, Martha Stewart's Handmade Holiday Crafts: 225 Projects for Year-Round Celebrations.


From Easter eggs, to Father's Day gifts, to Christmas decorations, the book offers dozens of crafts for every holiday.  It feels like a collection of all the best "Good Things" projects and special holiday issues of the magazine, all bundled in one spot.
Of course, there is a fabulous Halloween section (Martha's favorite holiday), which is the perfect jump-start I needed to get started on Oscar's 3rd birthday party, a Halloween extravaganza (at least in his eyes).

I am excited to try the Jar-o'-lanterns, featured in the Halloween section.  (Photos by Eric Piasecki. Reprinted from the book Martha Stewart’s Handmade Holiday Crafts. Copyright © 2011 Martha Stewart Living Omnimedia, Inc.  Published by Clarkson Potter/Publishers, a division of Random House, Inc.)

Jar-o'-lanterns
Tools and Materials
Clean glass jars
Paintbrush

Oil-based enamel paint (black and orange or yellow)
Extra-wide masking tape

Jar-o-lantern template (marthastewart.com/holiday-crafts-book-extras)
Marker
Craft knife
Plastic-covered 20-gauge wire
Needle-nose pliers
Wire cutters

 1. Working in a well-ventilated area, coat the inside of a jar with orange or yellow paint. Apply a square of masking tape to the outside of each jar. Press out any air bubbles. Use a marker to draw face on tape. Cut out features with a craft knife to form a stencil. (Alternatively, download and print jar-o’-lantern templates, cut out features, and secure over the tape; cut around them to form stencil.)


2. Using black paint and a brush, fill in the features of the stencil. Let paint dry completely, then carefully peel off and discard tape.

3. For a handle, loop one end of the wire with pliers. Make a lasso shape to hug the neck of the jar. Bend remaining wire over for a handle. Cut wire; make another loop to hook onto ring. Slip ring over jar's mouth; tighten as necessary.


How cute are those?  All I need is some orange paint and I'm set to start.

Ok, onto the really fun part.  Would you like a copy of the book?  Today I'm giving away 5 copies of Martha Stewart's Handmade Holiday Crafts: 225 Projects for Year-Round Celebrations!

I'm going to run this giveaway a little differently, just for fun.  To enter:

  • Leave a comment telling me your favorite crafting memory!  It can be anything - a success, a funny failure, just the sweet memory of crafting with someone special.  I'll choose my 5 favorites for the winners.  Make me smile.  :)
  • One comment per person please.  If you accidentally leave duplicate comments, please delete the extras.
  • Please leave me a way to contact you, either with an email address, or a public profile that leads to your blog.  Thanks!
  • This giveaway is open to U.S. residents only.  So sorry, international friends!

This giveaway is open for 24 hours only!  Get your comment in by 9 a.m. PST, on September 28th.

One of my favorite crafting memories is when I got to meet Ms. Martha herself and talk to her about something I made.  It was October 2008, just 11 days after Oscar was born, and I had submitted a pair of baby booties to the MSLO employee art show.  She loved the shoes (I about passed out on the spot), but even more she loved Oscar, and took his picture.  The shoes and Oscar's little newborn face even flashed briefly on the show the next day.  My tiny celebrity!   It was a thrill.


Good luck!  I'm really looking forward to reading your crafting memories.

rainbow birthday party!

Rainbow parties are super fun!  It was totally overboard for a 1-year-old party, but we combined with Ruby's cousin, Violet, and the rainbow theme was so fun, and let's be honest ... I just got carried away.  :)

We had a blast with our rainbow treats and rainbow outfits and rainbow decorations.  It resulted in two very happy birthday girls.

 See the girl's rainbow dresses posted here, and directions to make a lickety-split birthday crown here.

I couldn't have pulled it off without my in-laws ... the sister-in-laws were enthusiastic decorators, and grandma and grandpa were the grill masters, whipping up a delicious BBQ dinner.  Thanks, guys!

The decorations were fairly simple.  We made a streamer canopy inside the shade tent, hung paper lanterns (remember them from my spring Relief Society activity?), and a watch-me-grow birthday banner.  I really liked the rainbow circle garland I saw at Sweet and Lovely Crafts, so I made a smaller version.  The dots were punched out of rainbow colored card stock using a 1-inch scalloped circle punch, and sewn together on the sewing machine.  Easy, peasy.

The bean bag toss was fun for the kids.  There was no formal game or prizes ... it was just out for fun.  I got the idea from born.in.japan, and just ran with it.  If you are in the Santa Barbara area and want a (free) lovingly handmade bean bag toss board, email me!  I have no space to store it.

I also used some toys we already had as entertainment:  a tunnel to climb through, a kid's play parachute, and all the rainbow baby toys I could round up for a little baby zone in the shade.  

There were jars of crayons on the table with cute rainbow coloring pages (courtesy of Style Me Gorgeous) for anyone interested in coloring.


I didn't do an over-the-top dessert table that are so popular these days, but there were plenty of goodies to go around.


My big splurge for the party was this rainbow popcorn, to go into those beautifully cut rainbow popcorn boxes.  I ordered it online from Sakida.  It was tasty, but if I had to do it again, I would have tried to make it myself.  Just be warned - the shipping is atrocious (which I did not know until I received my invoice - ouch).  It sure looked pretty though.


A much bigger hit with the crowd was the layered rainbow jello.   It was kind of beautiful, and delicious!  Get the recipe at Glorious Treats.  I have an aversion to Cool Whip, so I substituted vanilla yogurt and it was really yummy.  Two tablespoons of each layer is just enough to fill a clear 8-ounce plastic cup.


Of course, you can't have a rainbow birthday party without doing THE rainbow cake.


I wanted it to be the real deal, so I went directly to the source - Whisk Kid.  She may or may not have been the first person ever to make a rainbow cake, but she certainly started the internet sensation.  Whisk Kid's cake recipe was the perfect amount for a 6 layer cake.   I used my go-to Wilton Buttercream Icing recipe for the frosting.

The reaction from the party-goers when I cut into this cake made the effort of baking it so worth it.  It tasted great, too!  Ruby was supposed to have her own little cake, but I had a gluten-free baking fail.  So she ended up with gluten free cupcake from Santa Barbara's most delicious bakery, Jeanine's, and she devoured it with gusto.


I sent our little guests away with some gold coins (idea found at the blog, it is what it is) - as you know, there is always gold at the end of a rainbow (party).  Bulk gold coins found at Smart & Final.


As my nephew frequently reminded me, "Jill has gone rainbow crazy!"  It was such a fun day, and while I know Ruby won't remember it when she is older, she can look at pictures of this party and know her mama really loves her.

Popular Posts

Followers